rvwarmguard
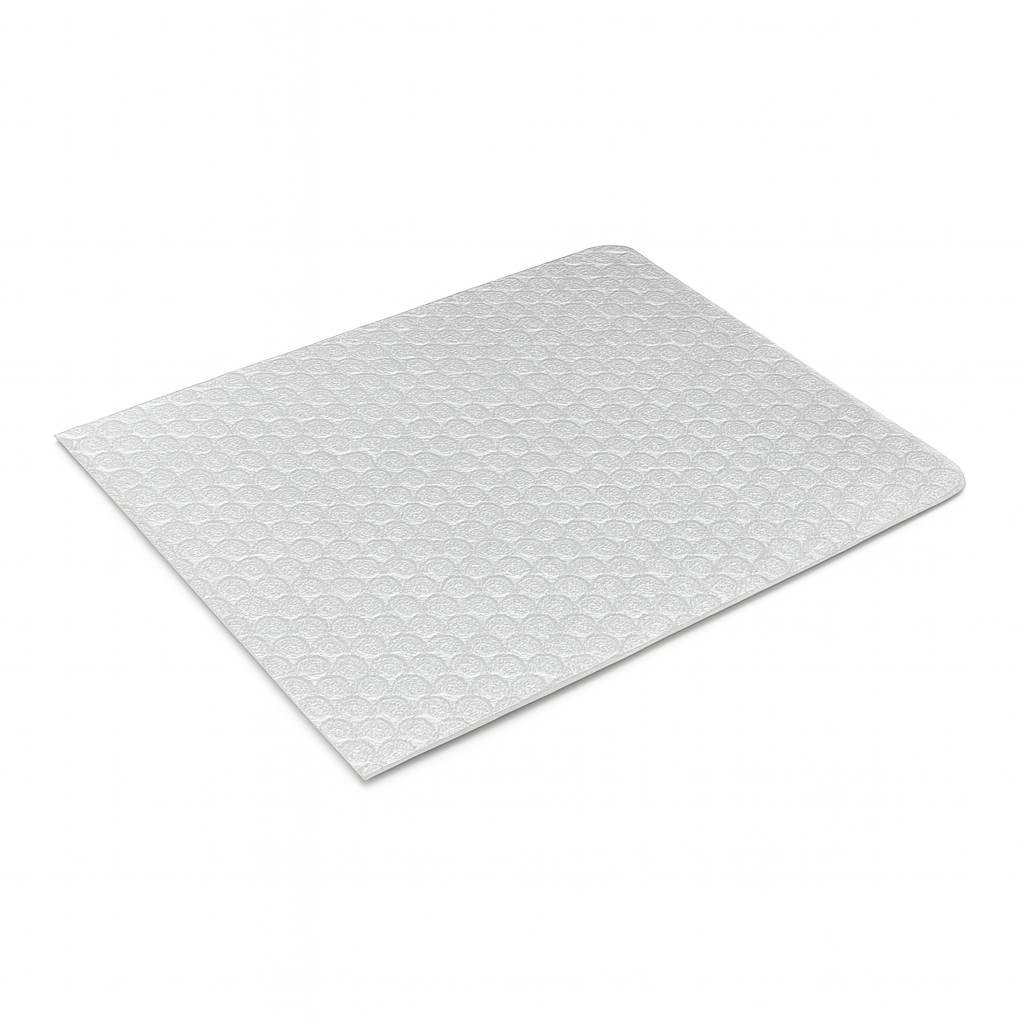
WarmGuard RV Window Insulation Kit – 4 Panels (6mm Reflective)
WarmGuard RV Window Insulation Kit – 4 Panels (6mm Reflective)
Couldn't load pickup availability
A 6mm reflective window insulation kit made for RVs. Four pre-cut panels and 3M tape help cut drafts, block harsh sun and reduce condensation—without drilling holes or making permanent changes to your rig.
What’s in the kit
- 4 × reflective insulation panels – approx. 20" x 28" (50cm x 70cm), ~6mm thick
- 1 × roll of 3M tape for mounting
- Quick-start guide with simple diagrams
Panels are shipped rolled, not folded, so they unroll flat and smooth for a cleaner install on your windows.
What it helps with
Winter: cuts down drafts and radiant cold from single-pane glass, especially near beds, dinettes and sofas.
Summer:helps stop harsh sun and radiant heat before it pours through the glass, so your AC isn’t fighting alone.
Condensation: improves the thermal barrier at the window, which can reduce how much moisture builds up on cold glass and frames.
Coverage
Each panel is around 20" x 28"(about 0.35 m²).
One kit (4 panels) covers about 1.4 m², usually enough for 2–3 key RV windows, depending on size and trimming.
Rough guide for how many kits to buy:
- 18–22 ft RVs – 1 kit for bedroom and a couple of main windows
- 23–28 ft RVs – 1–2 kits depending on coverage
- 30+ ft / full-time rigs – 2–3 kits to cover most living and sleeping area windows
Why WarmGuard vs. generic rolls
Most reflective insulation is sold as thin ~3mm rolls meant for garages or houses. You have to cut everything from a big sheet, find your own tape and hope it sticks to RV trim.
WarmGuard RV does it differently:
6mm thick panels – feel solid, sit neatly in the frame and don’t flop around
Rolled, not folded– no big fold lines across your window panels
3M tape included – no mystery stickers; the attachment system is taken seriously
Sized for RVs – easy to trim for side windows, door windows and many skylights
RV-first design– built specifically for RV comfort, not as an all-purpose roll
Install in four simple steps
1. Measure – measure the inside of the window frame you want to cover
2. Cut– cut the panel to size with scissors or a utility knife
3. Attach – clean and dry the frame, apply the 3M tape, press the panel around the edges
4. Adjust or remove – keep panels up in extreme hot or cold, lift or remove them when you want more light or airflow
Share


